Our expedition team received the Heksa tent a week before we went away. When it arrived, I ripped open the cardboard box with the excitement of a kid opening presents on Christmas morning. For a fairly large tent I should have waited until the rest of team arrived to help me set it up, but I tried it on my own anyway and managed to finish pegging it out within twenty minutes. This may have been a testament to my supreme tent erecting skills but it was more likely due to the ease of putting the tent up, which I was very impressed with.
The inner geodesic shell takes six colour coded poles to avoid any confusion. The outer is then thrown over and clipped to the inner at the corners (there is one red clip to make sure the outer is on properly as it is not symmetrical). Three more poles help form the porches. One small downside I found with the outer was that the porches have to be tensioned out with guidelines, this could cause a problem if the ground it’s pitched on won’t take pegs and there aren’t any rocks around.
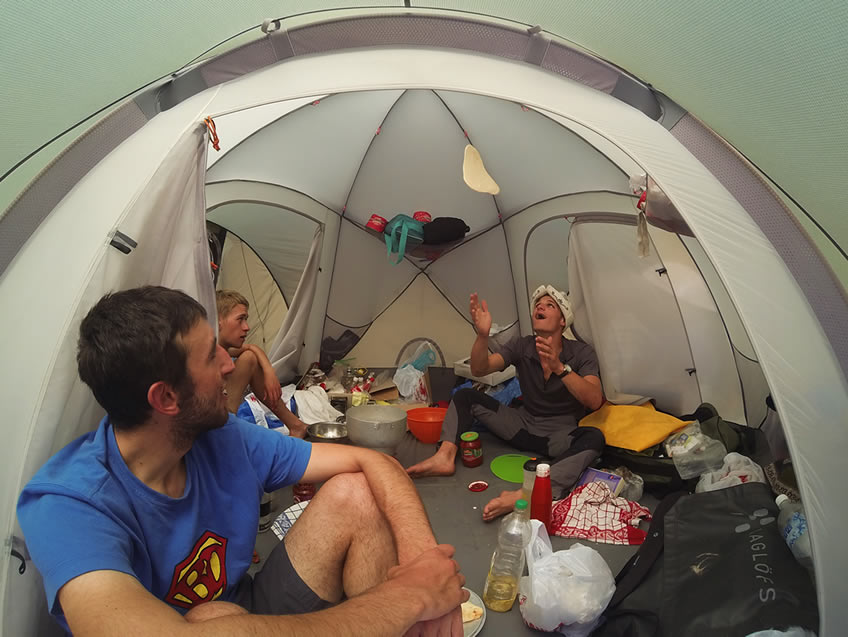
Below: The tent being transformed into ‘Papa Tien Johns’, the finest pizza restaurant in a 100 mile radius


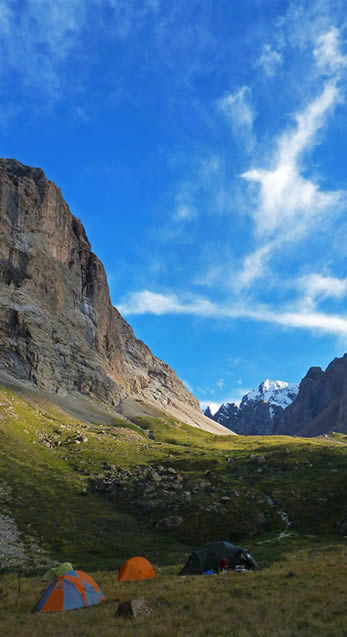
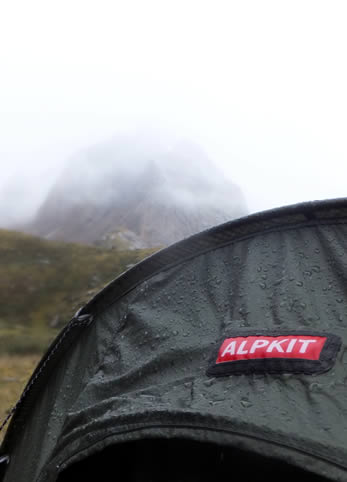
Having become acquainted with the Heksa we were initially impressed, but then it was time for the field-test. Upon arrival in the Djangart valley, our home for the next 18 days, the first thing we found was that I had forgotten the pegs. Luckily we had a few spare, not as many as we would have liked although we were able to fully peg the tent out with the guylines and outer sharing pegs. Despite this set back we were all impressed with how well the tent held up after being subjected to three weeks of heavy rain, super hot sun and high winds. One small observation was that during prolonged periods of rain (where we used tent pegs from other tents to fully peg it out) the inner and outer were touching, most notably on the ceiling, and there were a few drips of water coming through.
Up until now this review probably reads very similar to many other products currently on the market. So what sets this tent apart? The Heksa’s selling point is the design of the inner geodesic dome. We used the tent as a communal tent, storing about 300kg of kit and food inside it as well as accommodating all 6 of the team for meals and during bad weather. Despite repeatedly leaning against all of the tent walls the Heksa’s clever geodesic design ensured they remained tensioned well enough to take all of our combined weight. The inner has numerous ceiling attachment points, each rated to 3kg, which proved extremely useful for getting equipment out of the way and rigging a washing line web for drying kit on rainy days. The side pouches (three large at the top and six smaller ones on two of the walls) also had lots of space; in general an abundance of storage options was one of the best features of the tent.


The outer doors each have two zips allowing a small opening to be created at the top to aid ventilation during bad weather. They can also be fully unzipped and tucked into an integrated bag directly above. These were very useful features, especially given our variable weather. The only downside to this is that if both zips are pulled down with one on each side they could easily be broken if someone trips on it.
Conclusion
The Heksa is a great basecamp tent. I’d recommended it more for a four person team as it would be a lot more roomy, however we were able to get away with six of us in there with kit. It’s great for storage and easy to put up, but there are a few other features we didn’t test. The Heksa has an optional footprint to put underneath that we decided not to take due to our limited weight allowance on the plane out, however this would be recommended (especially if being used on snow) as we found that grass and dirt always found its way inside as the side porches have no ground sheet. The other feature, which we all agreed seemed clever, is the ability to unzip one of the porches to connect another Alpkit tent to it.
More information on the Heksa tent can be found on the Alpkit website. Many thanks to Alpkit for loaning it to us for the duration of the trip!